
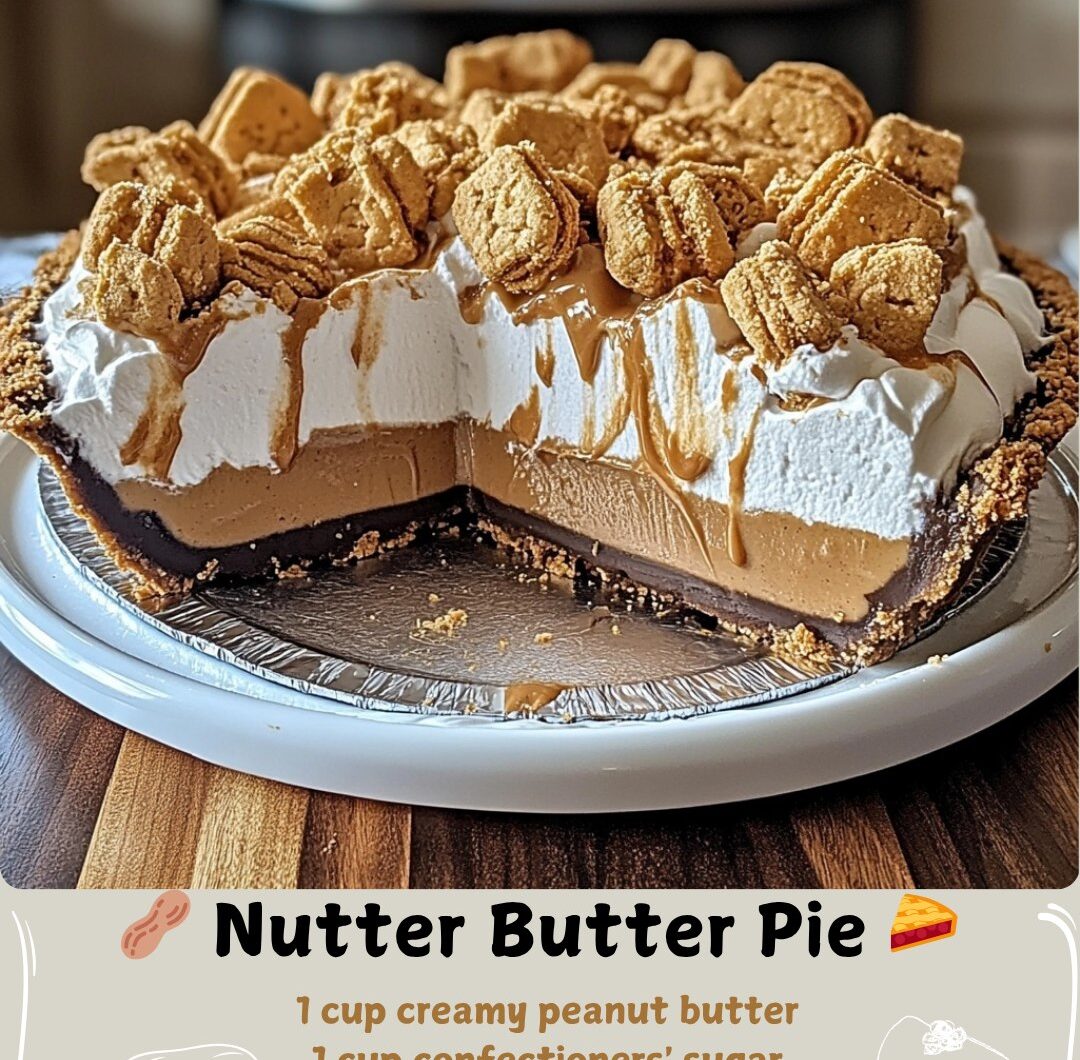
🥜 Nutter Butter Pie 🥧 – The Ultimate No-Bake Peanut Butter Pie You’ll Crave Again and Again
If you’re a peanut butter lover, this Nutter Butter Pie might just become your new favorite dessert. It’s creamy, rich, and perfectly sweet, featuring a buttery Nutter Butter cookie crust and a fluffy peanut butter cheesecake filling that melts in your mouth.
Best of all? It’s no-bake — meaning no oven, no hassle, and no stress. Whether you’re preparing for a summer cookout, a cozy family dinner, or a holiday dessert table, this easy peanut butter pie recipe delivers delicious results every single time.
🍪 Why You’ll Love This Recipe
✅ No-bake and foolproof: Perfect for beginners and busy home cooks.
✅ Rich and creamy flavor: A perfect balance of sweet and salty peanut butter goodness.
✅ Quick prep time: Just 15 minutes of hands-on work.
✅ Make-ahead dessert: Ideal for parties, since it chills beautifully in the freezer.
🧾 Ingredients You’ll Need
For the Cookie Crust:
- 25–30 creamy peanut butter sandwich cookies (like Nutter Butters)
- 5 tablespoons unsalted butter, melted
For the Filling:
- 1 (8-ounce) package cream cheese, softened to room temperature
- 1 cup creamy peanut butter
- 1 cup confectioners’ sugar
- 1 teaspoon vanilla extract
- 1 (8-ounce) container frozen whipped topping, thawed (like Cool Whip)
For Garnish:
- Crushed peanut butter cookies
- Extra whipped topping
🥧 Step-by-Step Instructions
Step 1: Prepare the Crust
Place the peanut butter sandwich cookies (yes, filling and all!) into a food processor. Pulse until they form fine, even crumbs.
If you don’t have a processor, simply place the cookies in a zip-top bag and crush them with a rolling pin.
Transfer the crumbs to a mixing bowl and add melted butter. Stir until the texture resembles wet sand.
Press the mixture into the bottom and sides of a 9-inch pie plate, using a measuring cup to flatten and compact it evenly.
Place the crust in the freezer while you prepare the filling.
Step 2: Make the Creamy Peanut Butter Filling
In a large bowl, beat the softened cream cheese until smooth and lump-free.
Add peanut butter, confectioners’ sugar, and vanilla extract, then mix again until the filling is light, thick, and creamy.
Step 3: Fold in the Whipped Topping
Using a spatula, gently fold the thawed whipped topping into the peanut butter mixture.
Continue folding until no white streaks remain. This creates a silky, mousse-like texture that’s both fluffy and rich.
Step 4: Assemble the Pie
Remove the chilled crust from the freezer and spoon the filling evenly into it. Smooth the top with an offset spatula or the back of a spoon.
Cover with plastic wrap and freeze for at least 4–6 hours, or overnight for the best texture.
Step 5: Garnish and Serve
Before serving, let the pie sit at room temperature for 5–10 minutes to soften slightly.
Top with crushed cookies, dollops of whipped topping, or even a drizzle of melted peanut butter or chocolate sauce.
Slice, serve, and prepare for the compliments to roll in!
💡 Expert Tips for the Perfect Nutter Butter Pie
- Use full-fat cream cheese for a rich, creamy filling that sets perfectly.
- Make it ahead of time. The pie keeps beautifully in the freezer for up to 1 month.
- Add a chocolate twist. Swirl in melted chocolate or top with chocolate shavings for a peanut butter cup effect.
- Chill thoroughly. The longer it chills, the firmer the slices will be.
- Use a hot knife for clean slices — dip it in warm water, then wipe between cuts.
🍫 Variations to Try
- Chocolate Lover’s Nutter Butter Pie: Add a layer of melted chocolate or ganache before spreading the filling.
- Banana Peanut Butter Pie: Add a layer of sliced bananas on top of the crust before pouring in the filling.
- Mini Nutter Butter Pies: Press the crust into muffin tins for individual servings — great for parties or meal prep.
- Oreo-Peanut Butter Pie: Mix half Nutter Butter crumbs and half Oreos for a unique twist.
🧊 Storage and Make-Ahead Tips
- Refrigerator: Store covered in the fridge for up to 4 days.
- Freezer: Freeze for up to 1 month. Thaw for 15 minutes before serving.
- Make-ahead option: Prepare the pie the day before your event — it’ll taste even better the next day as the flavors meld together.
💬 Frequently Asked Questions (FAQ)
❓ Can I make this pie without a food processor?
Yes! Simply crush the cookies in a zip-top bag using a rolling pin until fine crumbs form.
❓ Can I use homemade whipped cream instead of Cool Whip?
Absolutely. Whip 1 cup of heavy cream with 2 tablespoons powdered sugar until stiff peaks form, then fold it into the filling.
❓ My crust is falling apart — what did I do wrong?
You may not have used enough butter or pressed the crumbs firmly enough into the pan. Add an extra tablespoon of melted butter if needed and re-press.
❓ Is this pie gluten-free?
Not by default, since Nutter Butter cookies contain wheat. However, you can use gluten-free peanut butter cookies to make a GF version.
❓ Can I make this pie dairy-free?
Yes! Use vegan cream cheese, plant-based butter, and dairy-free whipped topping. It’ll still be creamy, rich, and satisfying.
❓ How long does the pie need to chill?
For best results, chill in the freezer for at least 4–6 hours. Overnight is ideal if you want it fully firm and easy to slice.
🥜 The Final Scoop
This Nutter Butter Pie is everything you want in a no-bake dessert — rich, creamy, peanut buttery perfection with a buttery cookie crust and a light, fluffy texture. It’s easy to make, freezes beautifully, and always leaves guests asking for seconds.
Whether you’re serving it at a birthday, barbecue, or just a weeknight treat, one thing’s for sure: this easy peanut butter pie recipe will become a family favorite.
So grab your cookies, whip up some peanut butter goodness, and make this pie — your taste buds will thank you! 🥧✨
Nutter Butter Pie
4
servings30
minutes40
minutes300
kcalIngredients
For the Cookie Crust:
25 -30 creamy peanut butter sandwich cookies
5 tablespoons unsalted butter, melted
For the Filling:
1 (8-ounce) package cream cheese, softened to room temperature
1 cup creamy peanut butter
1 cup confectioners’ sugar
1 teaspoon vanilla extract
1 (8-ounce) container frozen whipped topping, thawed (like Cool Whip)
For Garnish:
Crushed peanut butter cookies and additional whipped topping
Directions
- Prepare the Crust: Place the peanut butter sandwich cookies (including the cream filling) in a food processor. Pulse until they form fine, even crumbs. Alternatively, place the cookies in a sturdy zip-top bag and crush with a rolling pin. Transfer the crumbs to a medium bowl and stir in the melted butter until the mixture is fully combined and resembles wet sand.
- Form the Base: Press the crumb mixture firmly and evenly into the bottom and up the sides of a 9-inch pie plate. Use the flat bottom of a measuring cup to help create a compact, uniform layer. Place the crust in the freezer while you prepare the filling to allow it to set.
- Make the Filling: In a large mixing bowl, use an electric mixer on medium speed to beat the softened cream cheese until it is completely smooth and free of lumps. Add the peanut butter, confectioners’ sugar, and vanilla extract, and beat again until the mixture is well blended and creamy.
- Fold and Combine: Using a spatula, gently fold the thawed whipped topping into the peanut butter mixture. Continue folding until no white streaks remain and the filling is uniform.
- Assemble the Pie: Remove the chilled crust from the freezer. Spoon the filling into the crust, spreading it out into a smooth, even layer.
- Freeze to Set: Cover the pie with plastic wrap and freeze for at least 4-6 hours, or until firm enough to slice cleanly.
- Serve: Before serving, let the pie stand at room temperature for 5-10 minutes to soften slightly. Garnish with crushed cookies and dollops of whipped topping.